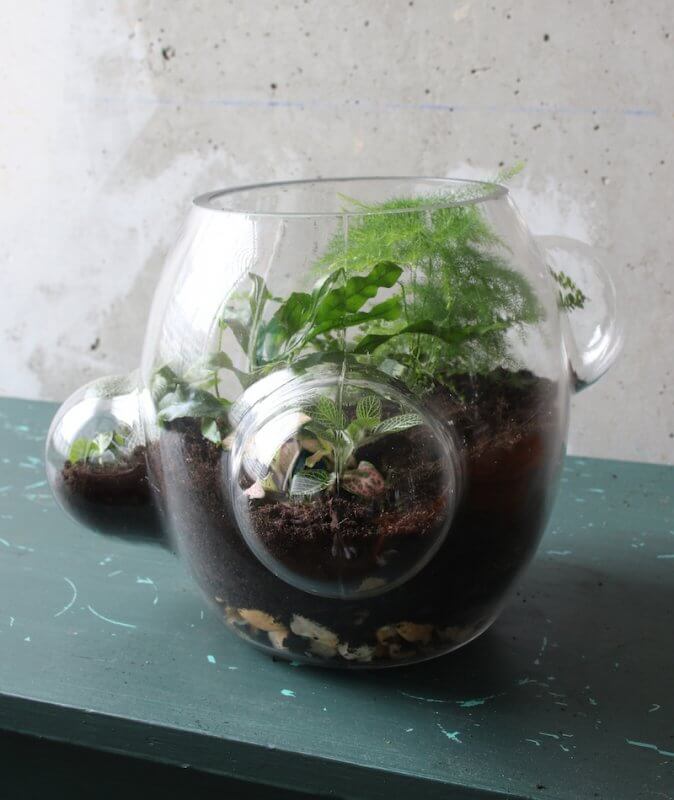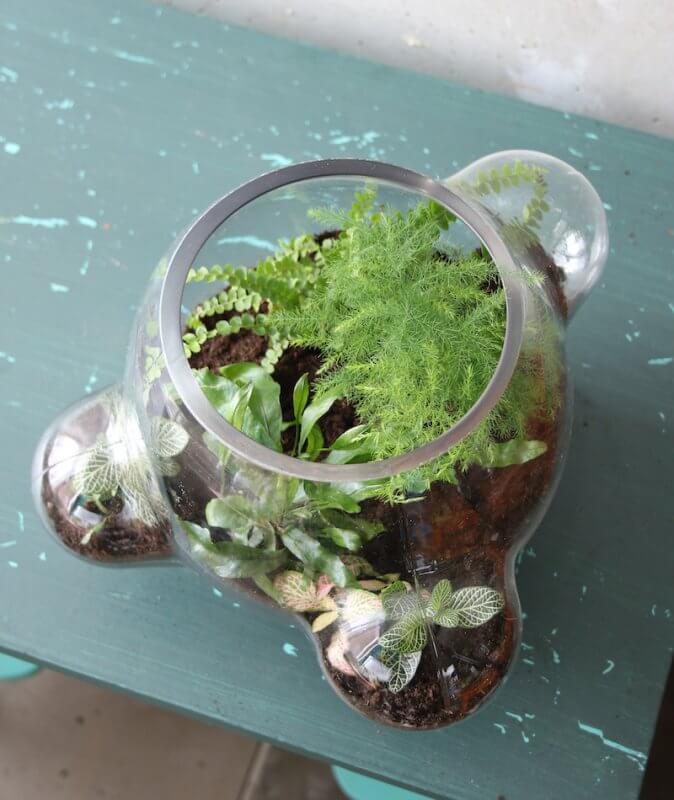
How to use the Local Habitat as a terrarium
Step-by-step manual by Judith Baehner from Het Groenlab
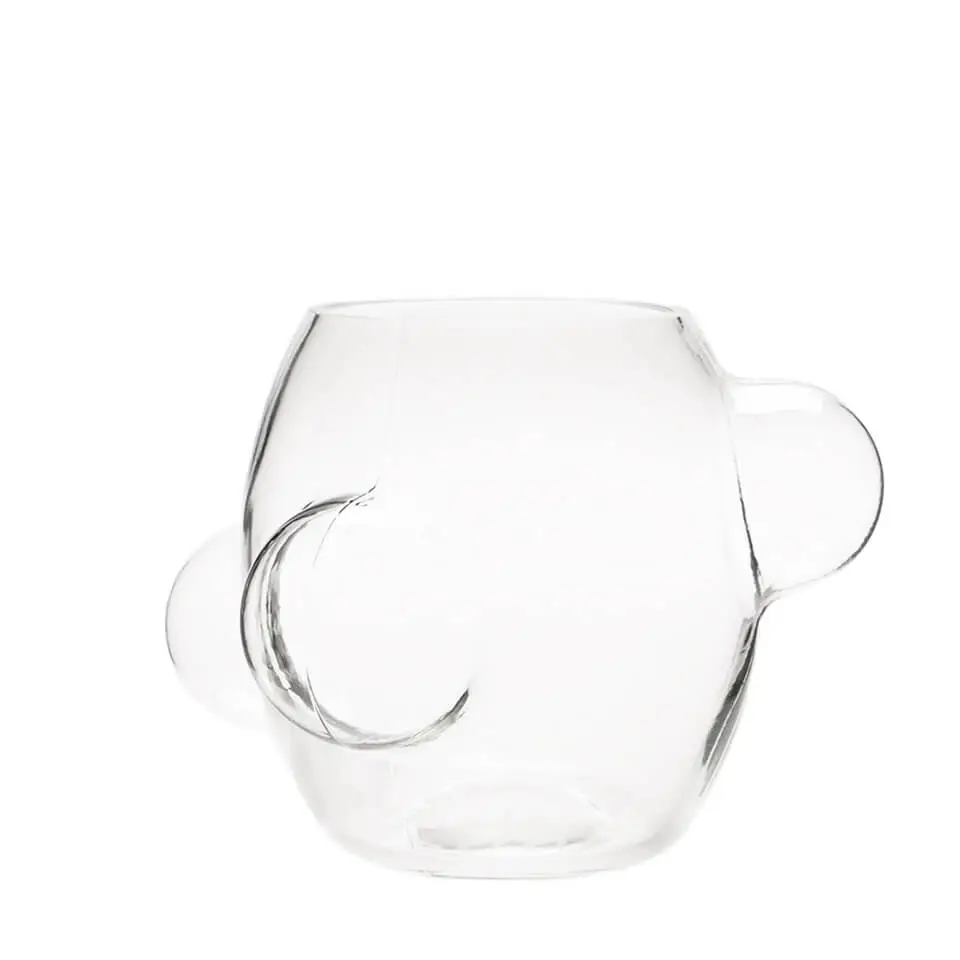
The Local Habitat is a glass research dome. A great way to observe and learn more about the creatures in our surrounding. But how do you use it in the colder seasons, when there’s less insects to be found in nature? We’re here to tell you the Local Habitat can be used all season long! Since it doubles as a vase, it is a great starting point to create your own terrarium.
Who better to explain how to use the Local Habitat as a terrarium than plants architect Judith Baehner from ‘Het Groenlab’. Her book ‘Groen in Glas’ (Green in glass) tells you all about how to create your own terrarium.
She knows exactly what plants to use and how to make sure they thrive in the glass bowl. Read her steps on how to fill the Local Habitat below.
Steps to create a terrarium in the Local Habitat – by Judith Baehner
1. To create a terrarium, it is important to first clean the glass of the Local Habitat. Clean the terrarium with not too hot, lukewarm water
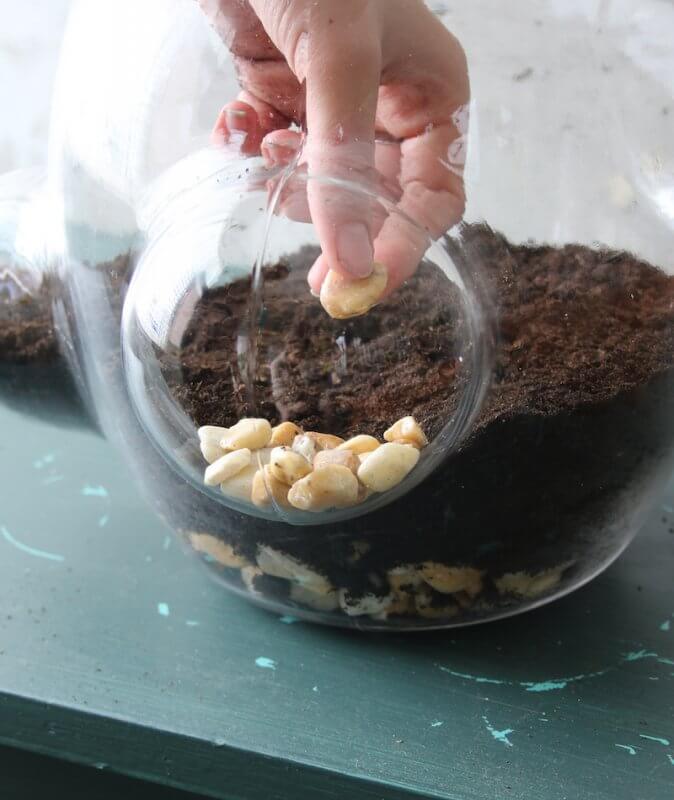
2. Create the first layer with small stones and pebbles: the drainage layer. Add these to the glass bowl one hand at the time. A layer of 2 centimeters is enough. Add a layer of stones to the first ‘bubble’. Do not add stones to the second bubble (up slightly higher) until you’ve added a layer of compost.
3. If you want, you can add active carbon to the bowl. A small circle in the middle will do. This carbon will help to purify the compost and keep the plant healthy. An open terrarium however, does not require this step.
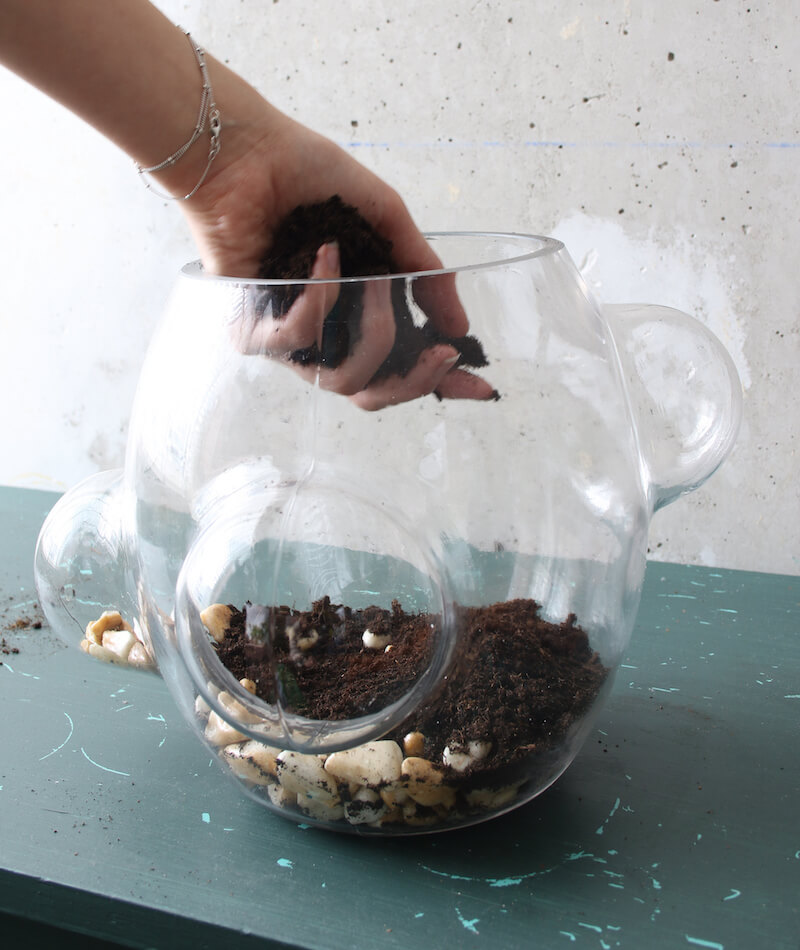
4. Add the third layer, the compost . A layer 5-7 centimeters will be enough to plant several plants. In the Local habitat you can make little height differences by adding more compost to one side. Let the compost run downwards into the first bubble. Don’t press the compost down.
5. Add a layer of small stones in the second bubble. Because of the compost in the glass they can’t slip away. Finish the layer of stones with a layer of compost.
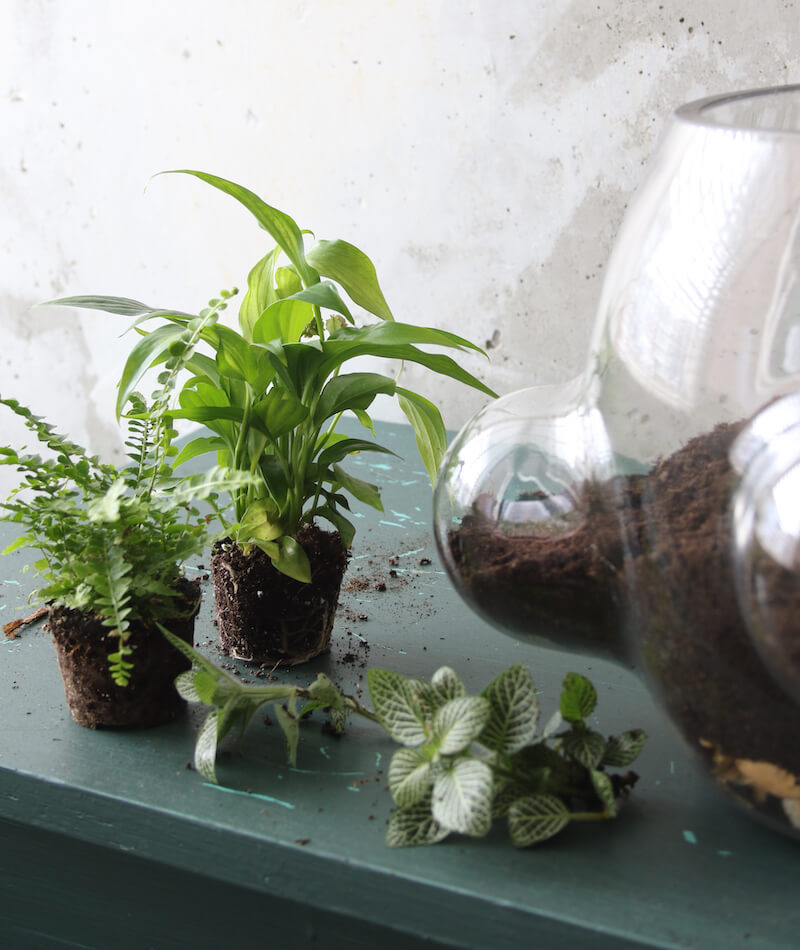
6. Create holes in the compost where you want to put the plants. Take the plants out of their pots and remove some of the soil between the roots. First, plant a small plant next to the lower bubble. It will be nice to see its branches grow into this bubble. Plant a Fittonia (nerve plant) in the second bubble. Now create a composition in the glass with small ferns, Fittonia and a common asparagus fern (Asparagus Plumosus).
7. To give your terrarium a good start you can add some moss. This will cover the compost which shows a more fresh feel than the black soil. Put the moss on the surface of the compost and press down lightly.
8. Last thing to do is to water your terrarium. Just pour a little bit of water into the glass until you see a wet seam around the glass. Put your Local Habitat in a bright spot, but never in direct sunlight. Check if your plants need extra water once a week and spray them with water regularly.
´The ‘Local Habitat’ is perfect to make an indoor plant installation and to Re-Love, Re-search and Re-Connect with nature. – Judith Baehner`
Want to learn more about creating your own terrarium? Check out the book ‘Groen in Glas‘ by Judith Baehner.
